
Headsets & Tools > UDC Penny-Farthings
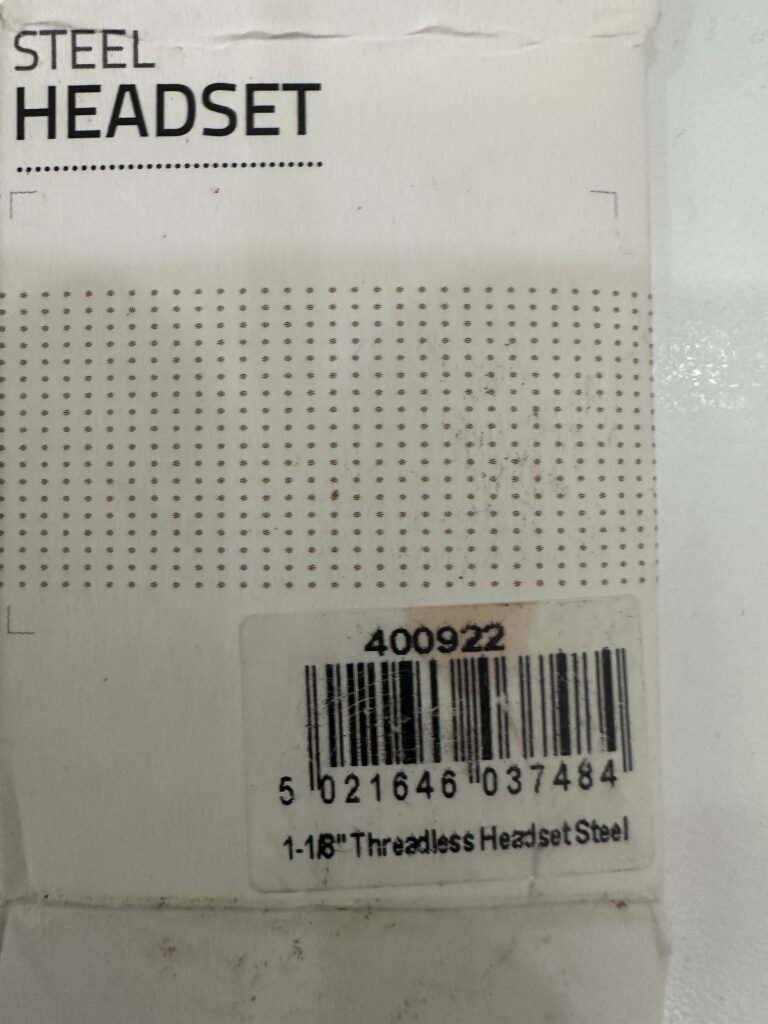
Since the operation of changing the headset on the UDC PF is no different than a standard bicycle, you could just take it to a local bike shop and they can do do it for you at an average cost of about ~£50 to remove the old headset and install the new one at the time of writing. Buy a Clarks ‘1-1/8″ Threadless Headset Steel“, part no. 400922 and give it to the bike shop with ~£50 and you’re all done 😉
Or you can buy a “headset cup remover” and a “headset cup press” both costing a total of £35-40 and do it yourself if you have more than one UDC PF or you just care to learn about maintaining your UDC Penny-Farthings. I saved about £65 doing both my UDC MK 3 & MK4 Penny-Farthings. You’ll additionally require some bike grease, a rubber mallet, an adjustable wrench. Detailed requirements follow below to buy the right tools. Since the process of changing a headset is the same for the UDC Penny-Farthing as it is a standard bicycle, I didn’t see the point in making another “HowTo” video, but I’ve included useful tips from my own experience of changing two headsets.
In addition to changing the tires & pedals on any PF, the UDC PF addtionally has a headset which will need to be replaced.
The headset you require is a Clarks ‘1-1/8″ Threadless Headset Steel“, part no. 400922 which fit both my UDC MK £ & MK4. I bought the from Roger @ unicycle.com who was always helpful as usual!
You don’t need top-of-the line tools for this job. They are extremely specialized and you will use them very infrequently. DON’T BUY EXPENSIVE TOOLS: THEY’LL BE OVERKILL & WASTED MONEY!
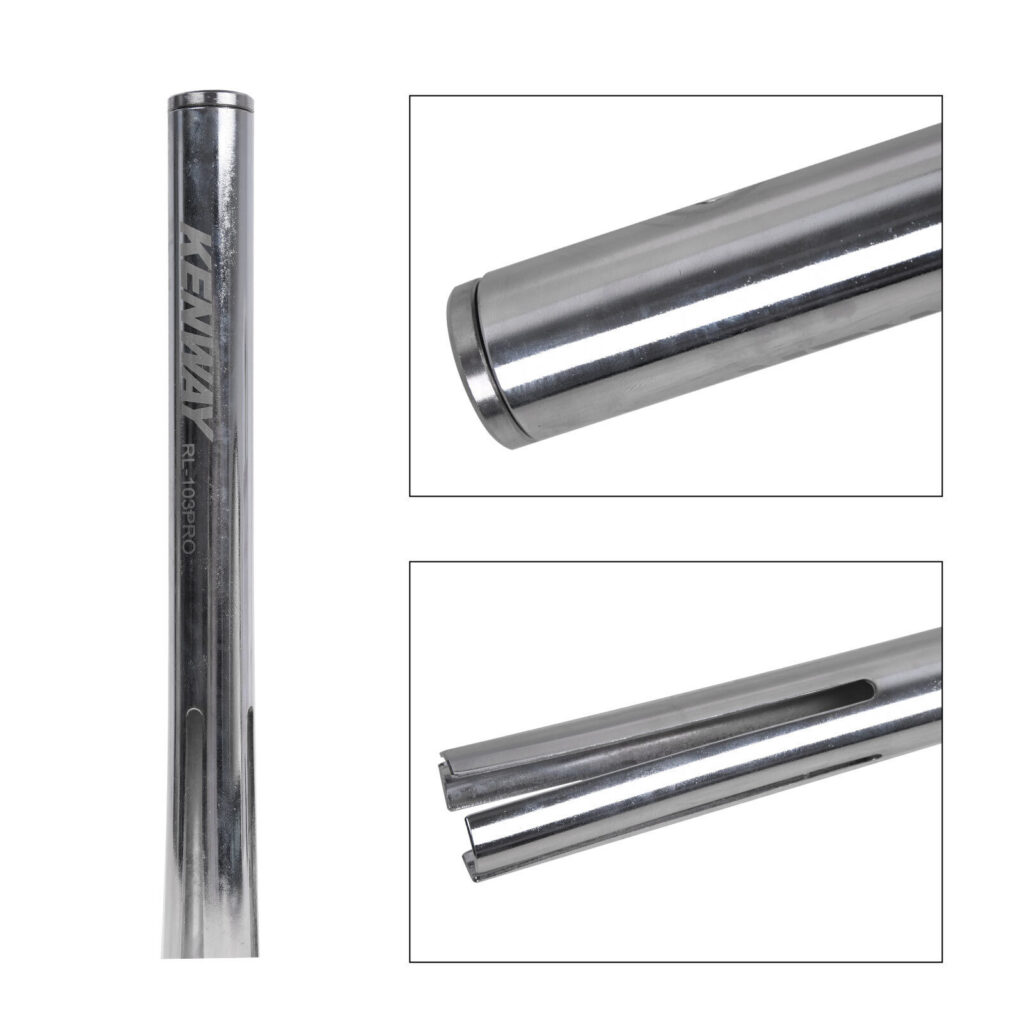
The first tool you require is one to knock the existing headset cups out of the fork tube. I bought the “Headset Cup Remove Tool Kenway Bicycle Remover for 1-1/8″ 1-1/4″ 1-1/2″ Head Cup” for £10 NEW on eBay. Does what it says on the tin.
Procedure: After removing the handle bars and the headset is exposed, pull the headset cup remover through the fork tube and the flanges will spring out on top of theflanges of the headset cup. Now just mash the top end of the headset cup remover sticking out of the forks with a RUBBER MALLET until its dislodged. Then do the other headset cup the same way. Spend £10 and don’t try to McGiver it with a screwedriver…
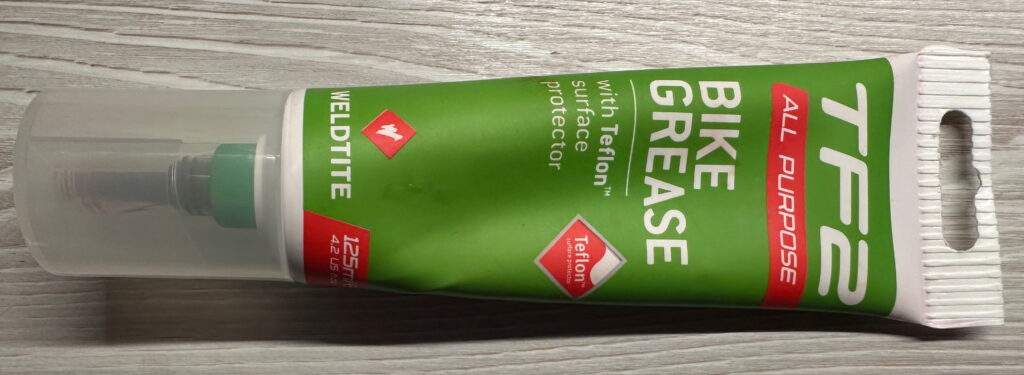
A new headset doesn’t come with greased barings: you’ll need to do this. I used Weldtite’s “TF2 All Purpose Bike Grease“. My neighbour is about as bikey a guy as it gets and he uses the same thing, so itt’s well endorsed. But I guess there are other greases that would work; this is just what I used. I’ve only put less than 500 miles on the new headset at the time of writing, so can’t attest to it’s long-term durability. However, I’m not expecting any problems.
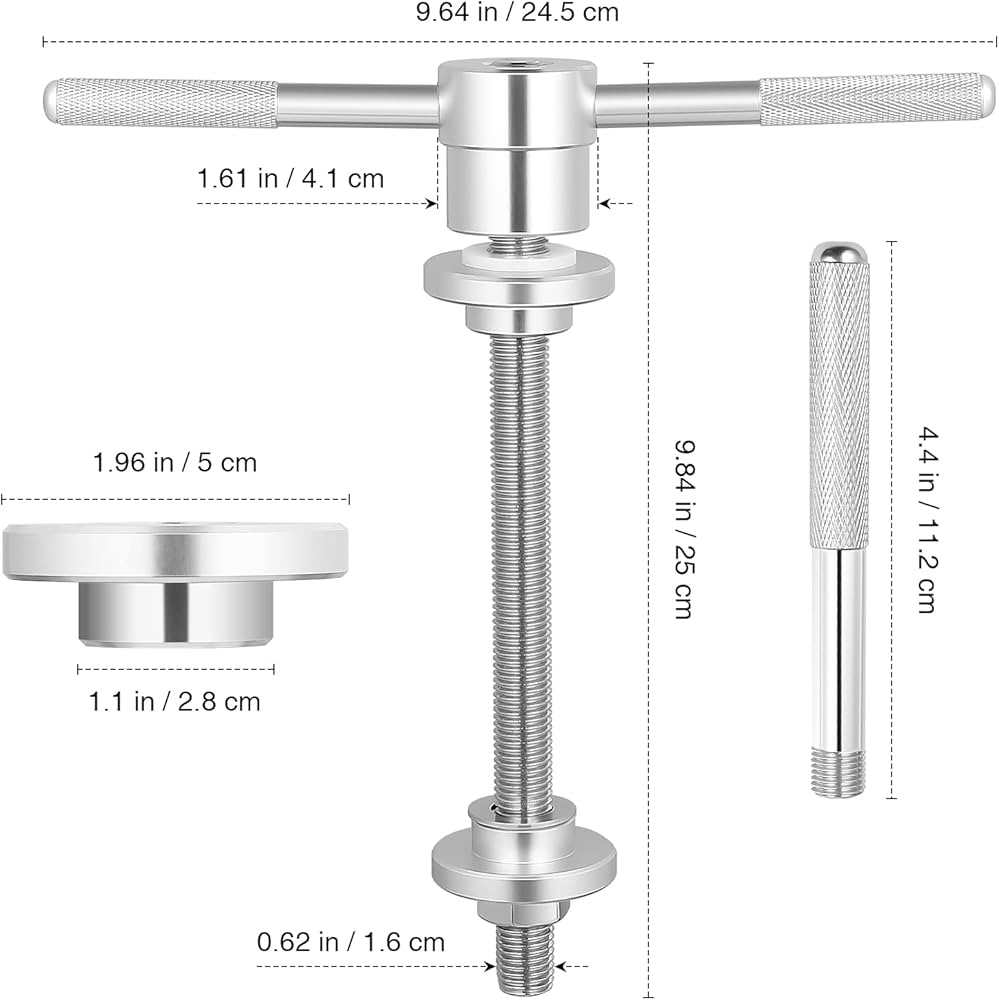
You’ll need a “headset cup press” to fit the replacements. I also bought a new one cheap on eBay for £25 like pictured at left. You can spend £175+ on a Park Tool version and although it’s nice, it’s overkill. When buying a headset cup press, you’ll need one that fits a 1 1/8″ headset. It appears that the same headset press I bought is sold under different names- and even in different colours- but as long as the disk which is driven into the headset cup is 1.1″ / 2.8cm, it should work with a 1 1/8″ headset. So buy the cheaper version.
Procedure: Both Headset cups are symmetrical, but ensure the barings in their retainer are the right side up before proceeding! Then fit one headset cup at a time- do NOT try to do both concurrently! Ensure that the headset cup is inserting level into the fork tube. If it’ not, stop and get it level before proceeding. And rather than turning the “T” shaped handle, I found it was easier to wedge this under my arm to stop it from turning and turn the adjustable wrench on the very bottom bolt to press the headset cup in.